How to Install a Smart Toilet: Step-by-Step Guide
What installing an integrated smart toilet involves, from checking the rough-in and outlet to setting the wax ring, connecting water and testing, and when to call a pro.

We may earn a commission when you buy through links on this page, at no extra cost to you. Learn more
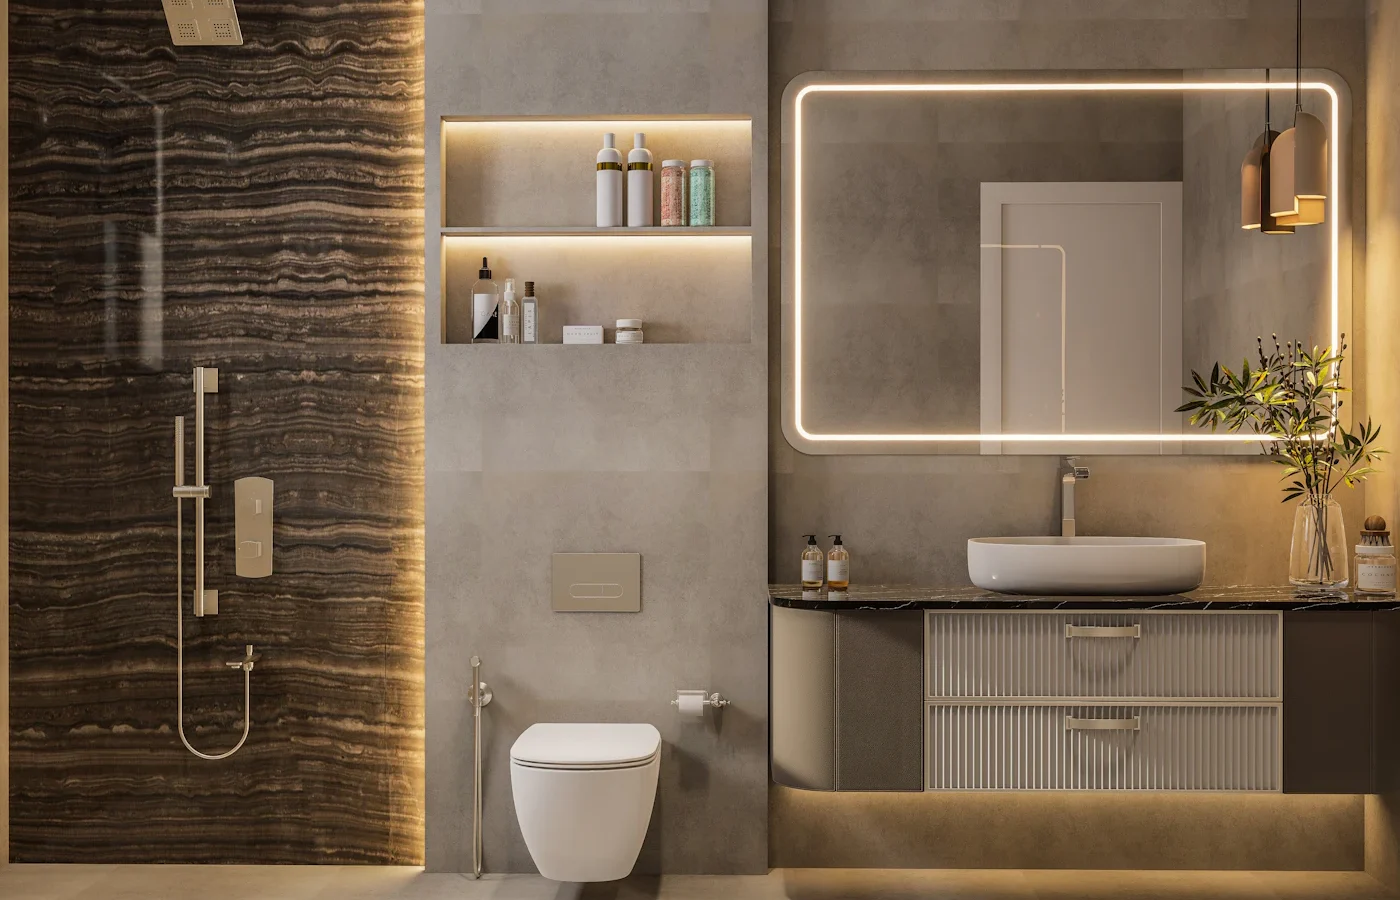
Installing an integrated smart toilet is a lot like replacing a regular floor-mounted toilet, with two big differences: the unit is heavier and more complex, and it needs a grounded, GFCI-protected outlet in a specific spot. If you have replaced a toilet before and the outlet is already in place, it’s a manageable project. If you need new wiring, hire a licensed electrician first.
This guide covers the general process for floor-mounted smart toilets, based on installation documents from TOTO, Kohler and American Standard. Every model is different. Your manufacturer’s installation manual always wins over any general guide, including this one.
If you are installing a smart toilet seat on an existing toilet instead, that’s a much simpler job. See our smart toilet seat installation guide.
Before you buy: three checks
1. Rough-in
The rough-in is the distance from the finished wall to the center of the drain. TOTO says 12 inches is the most common, though some homes have 10 or 14 inches. Most smart toilets are made for 12 inches; Kohler’s Veil, Eir and Innate spec sheets all list a standard 12-inch rough-in. Measure from the finished wall, not the baseboard trim. If the old toilet is still in place, measure to the center of the bolts that hold it down.
2. Water supply and flow
Tankless smart toilets flush from the supply line, so they need enough flow. Kohler lists a minimum flow rate of 6 gallons per minute for the Veil K-5401-PA and 4 gallons per minute for the Eir. TOTO’s NEOREST NX2 spec sheet lists a minimum of 7.25 psi flowing. Check your model’s requirement and, if you’re unsure about your home’s pressure or flow, ask a plumber.
3. Electrical
Every smart toilet needs a grounded, GFCI-protected 120V outlet. TOTO lists a 120V GFCI outlet as required on the NEOREST NX2. Kohler’s spec sheet for the original Veil K-5401 calls for a dedicated 120V, 15A circuit protected by a Class A GFCI. The spec sheet will also show where the outlet should be relative to the toilet, often low on the wall to one side.
Tools and materials
- Adjustable wrench and a socket set
- Putty knife or scraper for the old wax
- Bucket, sponge and towels
- Tape measure and level
- Drill, if your model uses floor anchors or a mounting bracket
- New wax ring or the seal your manual specifies
- New closet bolts (T-bolts) if not included
- Rag to plug the drain while you work
- A helper; smart toilets are heavy and awkward
Check the box contents against the manual. TOTO’s G5A manual, for example, notes that the floor flange, nuts, washers, T-bolts and wax ring are not included. Kohler says to use the supply hoses that come with the Veil and not to reuse old ones.
See options on AmazonStep-by-step installation
These steps describe the typical order of work. Follow the specific sequence in your model’s manual.
- Read the whole manual first. Note the outlet location, any mounting bracket or drain adapter, and the torque or tightening guidance.
- Shut off the water and drain the old toilet. Close the shutoff valve, flush to empty the tank, and sponge out remaining water from the tank and bowl.
- Disconnect and remove the old toilet. Unhook the supply line, remove the nuts from the closet bolts, rock the toilet gently to break the seal and lift it straight up. Set it on a towel or cardboard.
- Plug the drain and clean the flange. Stuff a rag in the drain to block sewer gas. Scrape off all the old wax.
- Inspect the flange and floor. The flange should be solid, secure and level with or slightly above the finished floor. If it’s cracked, loose or the floor around it is soft, stop and repair it, or call a plumber.
- Flush the supply line. Briefly open the valve into a bucket to clear debris before connecting a new toilet. TOTO’s G5A manual includes a step on cleaning the water supply filter, because debris can block it.
- Install any mounting hardware. Some models use a bracket, socket or adapter instead of a plain wax-ring setup. American Standard’s SpaLet bidet toilet, for example, uses a drain socket bolted to the flange with floor anchors. Kohler’s Innate uses its ReadyLock system. Fit these exactly as the manual shows.
- Set the seal. Place the new wax ring or specified seal. TOTO’s G5A manual warns to keep the wax ring out of the drainage channel, because that can cause poor flushing.
- Lower the bowl into place. With a helper, lower the bowl straight down onto the bolts and seal. Press down evenly to seat it. Avoid rocking once it’s set.
- Secure the bowl. Tighten the nuts or fasteners evenly, alternating sides. Don’t overtighten; vitreous china can crack.
- Attach the top unit if separate. On many smart toilets, the electronic top unit mounts onto the bowl after it is secured. Follow the manual’s sequence.
- Connect the water supply. Use the supplied hose. Avoid kinks, tight bends and stretching, which TOTO and American Standard both warn about.
- Install the remote holder. Mount it within reach of the seat. Kohler’s spec sheets show a recommended docking-station height range on the wall.
- Turn on the water, then the power. TOTO’s manual says to connect power and water only after the installation work is complete. Open the valve slowly, then plug into the GFCI outlet.
- Test and check for leaks. Flush several times. Check every joint and the base for leaks. Run the front and rear wash, the dryer and the lid, and test the backup flush.
- Finish up. Fit any side covers, set the clock and user preferences, and register the warranty.
When to hire a plumber
American Standard rates installing its SpaLet bidet toilet as moderate to difficult and recommends professional installation, especially for first-time installers. Consider a plumber if:
- You have never removed or set a toilet
- The flange is broken, too low or below the finished floor
- The floor around the toilet is soft or water-damaged
- Your rough-in doesn’t match the toilet
- The shutoff valve is old, stuck or leaking
- Water flow or pressure may be below the manufacturer’s minimum
- You’re installing a wall-hung model, which needs an in-wall carrier
Some manufacturers also have authorized installers. Check whether using one affects your warranty.
Accessibility considerations
If you’re installing a smart toilet for someone with limited mobility, plan the layout carefully. The ADA standards, which apply to public facilities but are a useful reference at home, call for a seat height of 17 to 19 inches and grab bars 33 to 36 inches above the floor. They also say flush controls should be on the open side of the toilet. Many smart toilets are listed as ADA compliant when installed correctly, and remote placement matters too. See our smart bathroom accessibility guide.
Common mistakes to avoid
- Buying before measuring the rough-in and outlet location
- Reusing old supply hoses or kinking the new one
- Overtightening the floor bolts
- Letting the wax ring intrude into the drain opening
- Plugging in before the plumbing is complete
- Using an extension cord or a non-GFCI outlet
- Skipping the leak check after the first flushes
Frequently asked questions
How long does it take to install a smart toilet?
It depends on your experience and on any surprises under the old toilet. A straightforward swap with an outlet already in place is usually a single-session job. Flange repairs or new wiring add time.
Can I use my existing outlet?
If it’s grounded, GFCI-protected, in the location the spec sheet shows and the model doesn’t require a dedicated circuit, possibly. Check your model’s electrical requirements, and ask an electrician if you’re unsure.
Do smart toilets use a wax ring?
Many do. TOTO’s G5A manual shows a wax ring. Others use their own systems, such as American Standard’s drain socket. Always use the seal your manual specifies.
Is installing a smart toilet harder than a seat?
Much harder. A smart seat swaps onto your existing toilet with a T-valve for water. A smart toilet means removing and replacing the whole fixture. Our bidet toilet vs. bidet seat comparison can help if you’re still deciding.
Next steps
Still choosing a model? Read how smart toilets work to understand pump flushing and power needs, and how much a smart toilet costs for dated price ranges and installation cost factors. More how-tos live in our installation and maintenance section.